Gluten-Free Almond Flour Pie Crust
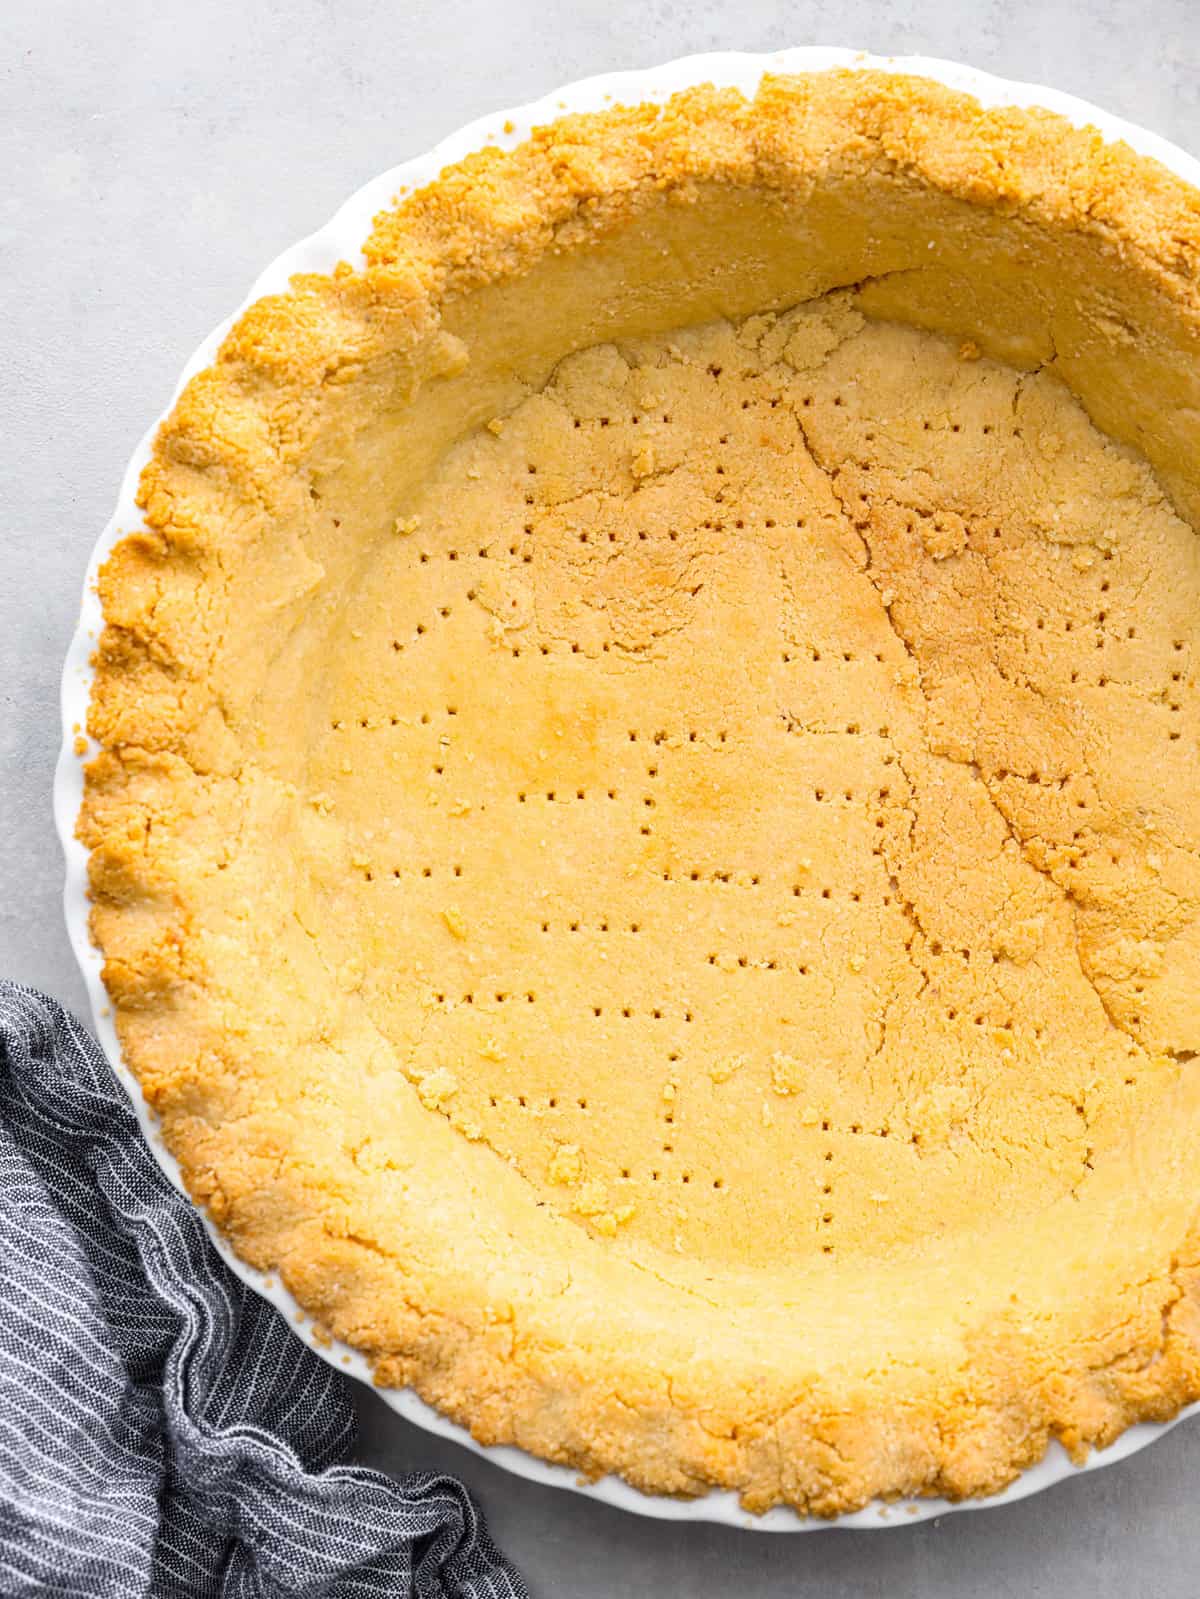
Not only is this gluten-free pie crust buttery and delicious, but it only takes 4 simple ingredients to make! It’s also keto-friendly, making it the perfect diet-conscious choice for Thanksgiving!
The best pies start at the crust. I love making my own from scratch because one, it’s a lot easier than you’d think, and two, they taste a million times better! This holiday season, try my grandma’s perfect pie crust and check out this guide to blind baking to ensure your pies turn out perfectly!
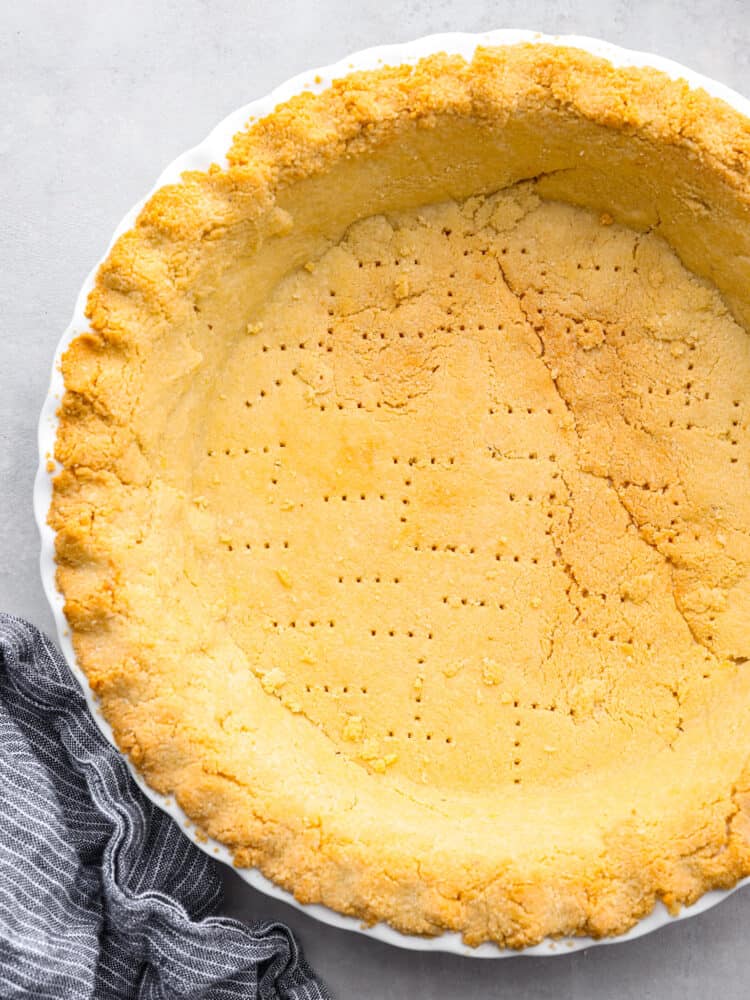
The Best Gluten-Free Pie Crust Recipe
Pie is one of the best things about Thanksgiving, and you should be able to enjoy it even if you have a gluten-free diet! This gluten-free pie crust gives you the best of both worlds. It’s still golden brown and buttery, but made with almond flour to make it diet-friendly! And for those of you looking for something keto as well, consider this your lucky day. Almond flour is naturally low-carb!
This gluten-free pie crust is super easy to make. And did I mention you only need 4 simple ingredients to whip it up? It’s the answer to all of your Thanksgiving baking needs! This crust is so buttery and flaky and a must-make for the holidays. You may even like it more than a traditional crust! Use it with your favorite pie recipe, you won’t be able to get enough.
Ingredients You’ll Need
I mean, does it get any simpler than this? As long as you’ve got some almond flour, the rest of the ingredients needed to make this gluten-free crust are probably in your pantry right now! Note: all measurements can be found below in the recipe card.
- Almond Flour: Be sure to use almond flour and not almond meal. They have a different consistency. Also, the finer the flour the better! I used ultra-fine almond flour so that my crust turned out lump-free.
- Salt: You just need a pinch to keep your pie crust from tasting bland.
- Butter: Since we add salt separately, I used unsalted butter here.
- Large Egg: One large egg helps to bind all of the ingredients together!
How to Make a Gluten-Free Pie Crust
It only takes 45 minutes from start to finish! This easy gluten free almond flour pie crust recipe is definitely one to keep on hand. It’s so easy but turns out perfectly every time. Gluten sensitivity or not, this is something that the whole family will be able to enjoy.
Preparing the Dough
- Prepare Pie Dish, Preheat Oven: Lightly grease a pie pan with cooking spray or butter and set aside. Preheat your oven to 350℉.
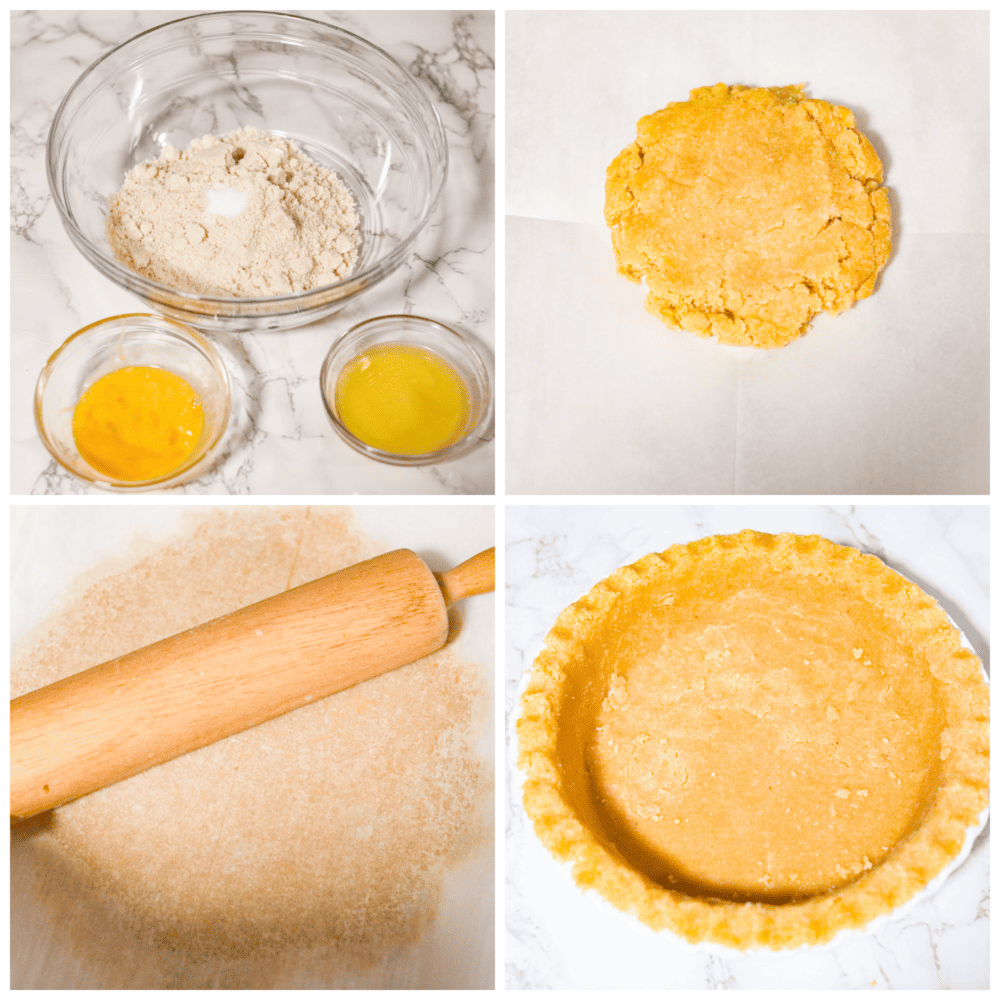
- Combine Ingredients: In a large bowl mix your dry ingredients- almond flour and salt. Then add in your melted butter and egg. With a hand mixer, mix all the ingredients together. Once it has all come together knead the mixture by hand a bit to bring it all into a big ball.
- Roll Out: Lay one sheet of parchment on a flat surface and place the dough on top, press flat and lay another sheet on top and roll dough out into a circle that will fit your pie pan.
- Add to Pan: Remove the top sheet and place the dough in the pie pan, dough side down. Once you have it centered on the pie pan, remove the other sheet of wax paper.
- Shape: It is normal for your crust to fall apart at this step, this is when you will press the dough into the pan evenly until all the pan is covered. At this point you can make a decorative border.
Baking
- Bake: Poke around the bottom of your gluten-free pie crust with a fork, and bake for 15-20 minutes with a crust shield covering the edges. Crust should be a golden color when done.
- Par-Bake if Needed: If you are filling the pie with a filling that needs to be baked in the crust, par-bake the crust for about 10 minutes, then remove the crust from the oven, fill and bake according to the filling’s instructions.
Do I Need to Use Pie Weights?
Almond flour is a bit more dense than regular flour, so it tends to hold its shape better. Using pie weights is optional! If you want your gluten-free pie crust to be as perfect as possible, you can use pie weights, uncooked rice, or dried beans in the bottom to keep it from rising or cracking while it bakes.
Pie Recipes to Try
Now that you have this delicious gluten free pie crust ready to go, all you have to do is add a tasty filling! This gluten-free pie crust works great for both cream and fruit pies. Here are a few of my favorite recipes to follow if you need some Thanksgiving dessert inspiration! Find more of my favorite pie recipes here.
Desserts
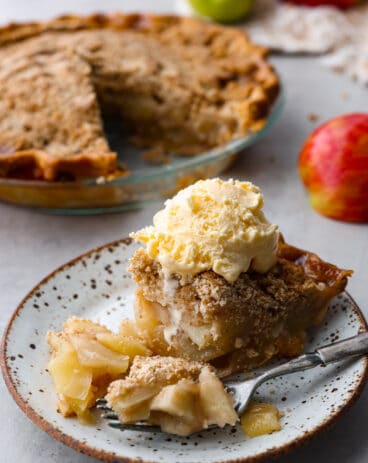
Best Ever Dutch Apple Pie
Desserts
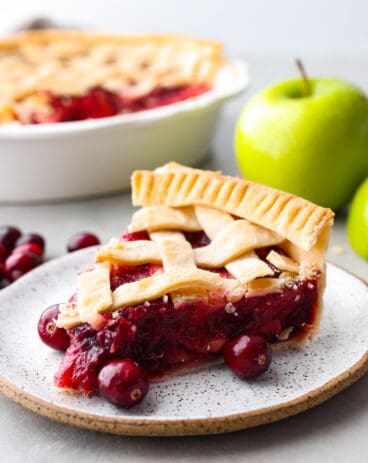
Cranberry Apple Pie
Desserts
Easy Cherry Pie
Desserts
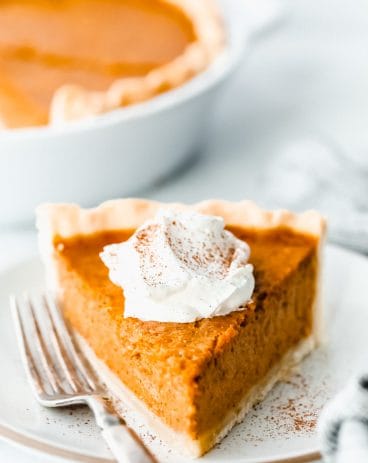
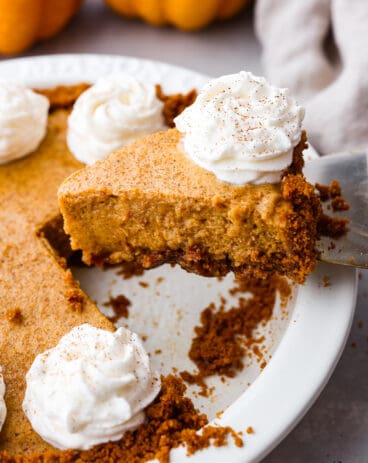
Grandma’s Famous Pumpkin Pie
Tips for Making Your Pie Crust
From baking tips to substitutions, here are a few ways to perfect your gluten-free pie crust. It’s so flaky, buttery, and delicious! You’re going to absolutely love it!
- Use as a Single-Crust: This crust works best as a bottom crust. I recommend using this with a pie that won’t require a crust on the top. (Coconut cream pie, I’m looking at you!)
- Make it Dairy-Free: You can replace the butter with coconut oil for a dairy-free option.
- Add Sweetness: If you want to sweeten this pie crust you can add 1 tablespoon of sugar, or a sugar replacement.
- Use a Food Processor: Instead of a hand mixer, you can use a food processor to achieve a nice, fine crumb. This blends all the ingredients together easily.
How Long Does a Gluten-Free Pie Crust Last?
Good news is, this pie crust is great for making ahead! Whipping it up beforehand is great for alleviating some pressure on Turkey Day.
- In the Refrigerator: Store covered with plastic wrap for up to 1 week.
- In the Freezer: Store wrapped in plastic wrap or in an airtight bag or container for up to 3 months.
Gluten Free Almond Flour Pie Crust
Ingredients
- 2 cups almond flour
- ½ teaspoon salt
- ¼ cup unsalted butter melted
- 1 large egg lightly beaten
Instructions
-
Lightly grease a pie pan with cooking spray or butter and set aside. Preheat your oven to 350℉.
-
In a large bowl mix your almond flour and salt. Add in your melted butter and egg, with a hand mixer, mix all the ingredients together. Once it has all come together knead it by hand a bit to bring it all into a big ball.
-
Lay one sheet of parchment on a flat surface and place the dough on top, press flat and lay another sheet on top and roll dough out into a circle that will fit your pie pan.
-
Remove the top sheet and place the dough in the pie pan, dough side down. Once you have it centered on the pie pan, remove the other sheet of wax paper.
-
It is normal for your crust to fall apart at this step, this is when you will press the dough into the pan evenly until all the pan is covered. At this point you can make a decorative border.
-
Poke around the bottom of the crust with a fork, and bake for 15-20 minutes with a crust shield on covering the edges. Crust should be a golden color when done.
-
If you are filling the pie with a filling that needs to be baked in the crust, par bake the crust for about 10 minutes, then remove the crust from the oven, fill and bake according to the filling’s instructions.
Nutrition
from The Recipe Critic https://ift.tt/GLwAzMJ



Post a Comment