A Disney DIY You Can Fon-due with Your Whole Family!
Are you looking for something fun to fon-due with your family? (Get it? Fondue? Like, fon-do?)
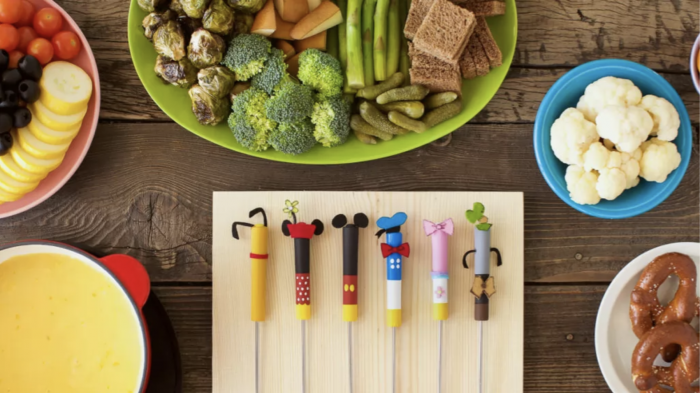
Well, look no further, because today we are sharing the Disney Fondue Sticks DIY from Disney Family!
Who doesn’t love a good, warm fondue on a cold, winter day? Now you can add some Disney spice to your fondue party with these super cute, super easy to make fondue sticks!
Supplies
- 6 wooden handle fondue sticks
- Painter’s tape
- Black, white, yellow, red, blue, pink, brown, and green acrylic paints
- Paintbrushes
- White and yellow paint markers
- Black, white, yellow, red, blue, pink, brown, and green craft felt
- Piece of black twine, for Minnie
- Scalloped scissors, for Minnie
- Black marker
- Removable adhesive glue dots
Instructions
- Wrap five of the fondue stick handles with painter’s tape, ¼ of an inch up from the bottom edge of each wood handle. If you have a fondue stick with a red color dot, save it to make the Minnie fondue stick — the bump at the top is ideal for making her iconic red hat. Leave one fondue stick free of painter’s tape to create Pluto.
- Paint the fondue sticks with acrylic paints according to each character’s colors. Paint the areas to the top and bottom of the painter’s tape, then allow to dry completely.
- After the paint has dried, peel off the painter’s tape. Reapply more tape, covering the inner edges of the colors you’ve just painted. Paint the middle section for each character. Allow to dry, then remove the tape.
- If making Minnie, use scalloped scissors to cut a piece of the painter’s tape horizontally. Apply the pointy side of the scallop design just under the section on Minnie that is painted red. Paint above the tape with red paint to create a pretty scalloped edge.
- Create dots using a white paint marker. You will need to create mini dots for Minnie, and four larger dots as Donald’s buttons. Use a yellow paint marker to create Mickey’s buttons. If you don’t have a paint marker, apply small blobs of yellow paint using a toothpick.
- Create details like hats, bows, and ears from the craft felt. Sketch the shapes on the felt using a black marker. Cut the shapes out, leaving a bit of the black outline on the cut-out. This will help the shape of your cut-outs stand out. When making Minnie, use a piece of black twine to attach her hat to her daisy. Attach all the felt details to the fondue sticks using adhesive glue dots.
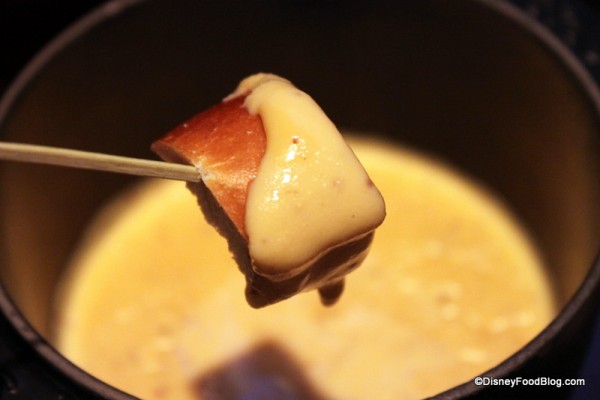
- Enjoy your fondue sticks with a yummy bowl of fondue and plenty of dippers!
Helpful Tip! These fondue sticks are not dishwasher safe and should be hand-washed. The removable felt dots allow the felt to be changed as needed!
If you end up making these please share your pics! We’d love to see. 
Click here for more Disney DIYs!
Join the DFB Newsletter to get all the breaking news right in your inbox! Click here to Subscribe!
Will you be making your own Disney Fondue sticks? Will you try them with cheese or chocolate fondue first? Let us know in the comments!
The post A Disney DIY You Can Fon-due with Your Whole Family! first appeared on the disney food blog.
from the disney food blog https://ift.tt/2KQSitc


Post a Comment